
KIRA Studio tutorials
Make the effect
you have in mind.
Build a title that stays editable, design a transition for your next cut, or move a camera through your edit. Start with a short tutorial and take the full authoring guide into your AI chat.
01 / From a brief to an asset
Give your AI the KIRA guide.
- Download the Markdown guide. Attach it to a new Claude or Argon chat, or paste its text into the conversation.
- Describe what you want to make, its duration and aspect ratio, and which text or images need to stay editable. Include a reference if the assistant can view it.
- Ask for one complete
.kmotionfile. Import it in Shader Studio, compile, and try it in a sample project.
Prompt to copy
Read the attached KIRA Studio guide. Make a six-second lower third for a 1920 × 1080 video. Use a transparent background, a coral accent, editable title and subtitle layers, and an optional PNG logo slot. Return one complete KIRA Motion Template and explain how to preview it in KIRA.
02 / Titles, intros and reusable layouts
Build an editable template.
A Template combines shader artwork, native text, and image slots inside a compound. The guide includes a complete Coral Title template you can paste directly into Studio.
- In Shader Studio, choose Import code or Paste code, then Compile.
- Use Save to Custom to reuse it and Add compound graphic to place it.
- Double-click the compound. Edit its text or choose a PNG for the logo in the Inspector. Use Back or Esc to return to your main edit.
To animate a logo independently, add layer-local transform keys. The guide shows the exact format for position, anchor, scale, rotation, and opacity.
03 / Give a shot your own look
Create a graphic or an effect.
Choose a Graphic for an overlay or procedural animation. It becomes its own clip. Choose an Effect to change the footage on a selected clip, such as warming the highlights or adding a distortion.
- Ask the AI for HLSL using the exact Studio header in the download. Start with the Coral Orbit or Warm Highlights example.
- Compile the complete file. A Graphic uses Add to timeline. An Effect uses Apply to clip with your source clip selected.
- Check it over different footage. For an overlay, verify that the background stays transparent. For an Effect, compare it with the original shot.
04 / Design the cut
Make a transition.
Use two video clips that meet at a cut. In the shader, tex0 is the outgoing shot and tex1 is the incoming shot. The transition should start on the outgoing shot and end on the incoming one.
- Copy the Soft Push Wipe example from the guide and compile it as a Transition.
- Select the shared cut and choose Apply at cut. Set a duration that fits the shots.
- Scrub across the start, middle, and end. Look for unwanted flashes or a jump at either endpoint.
05 / Give your edit depth
Animate a camera through video.
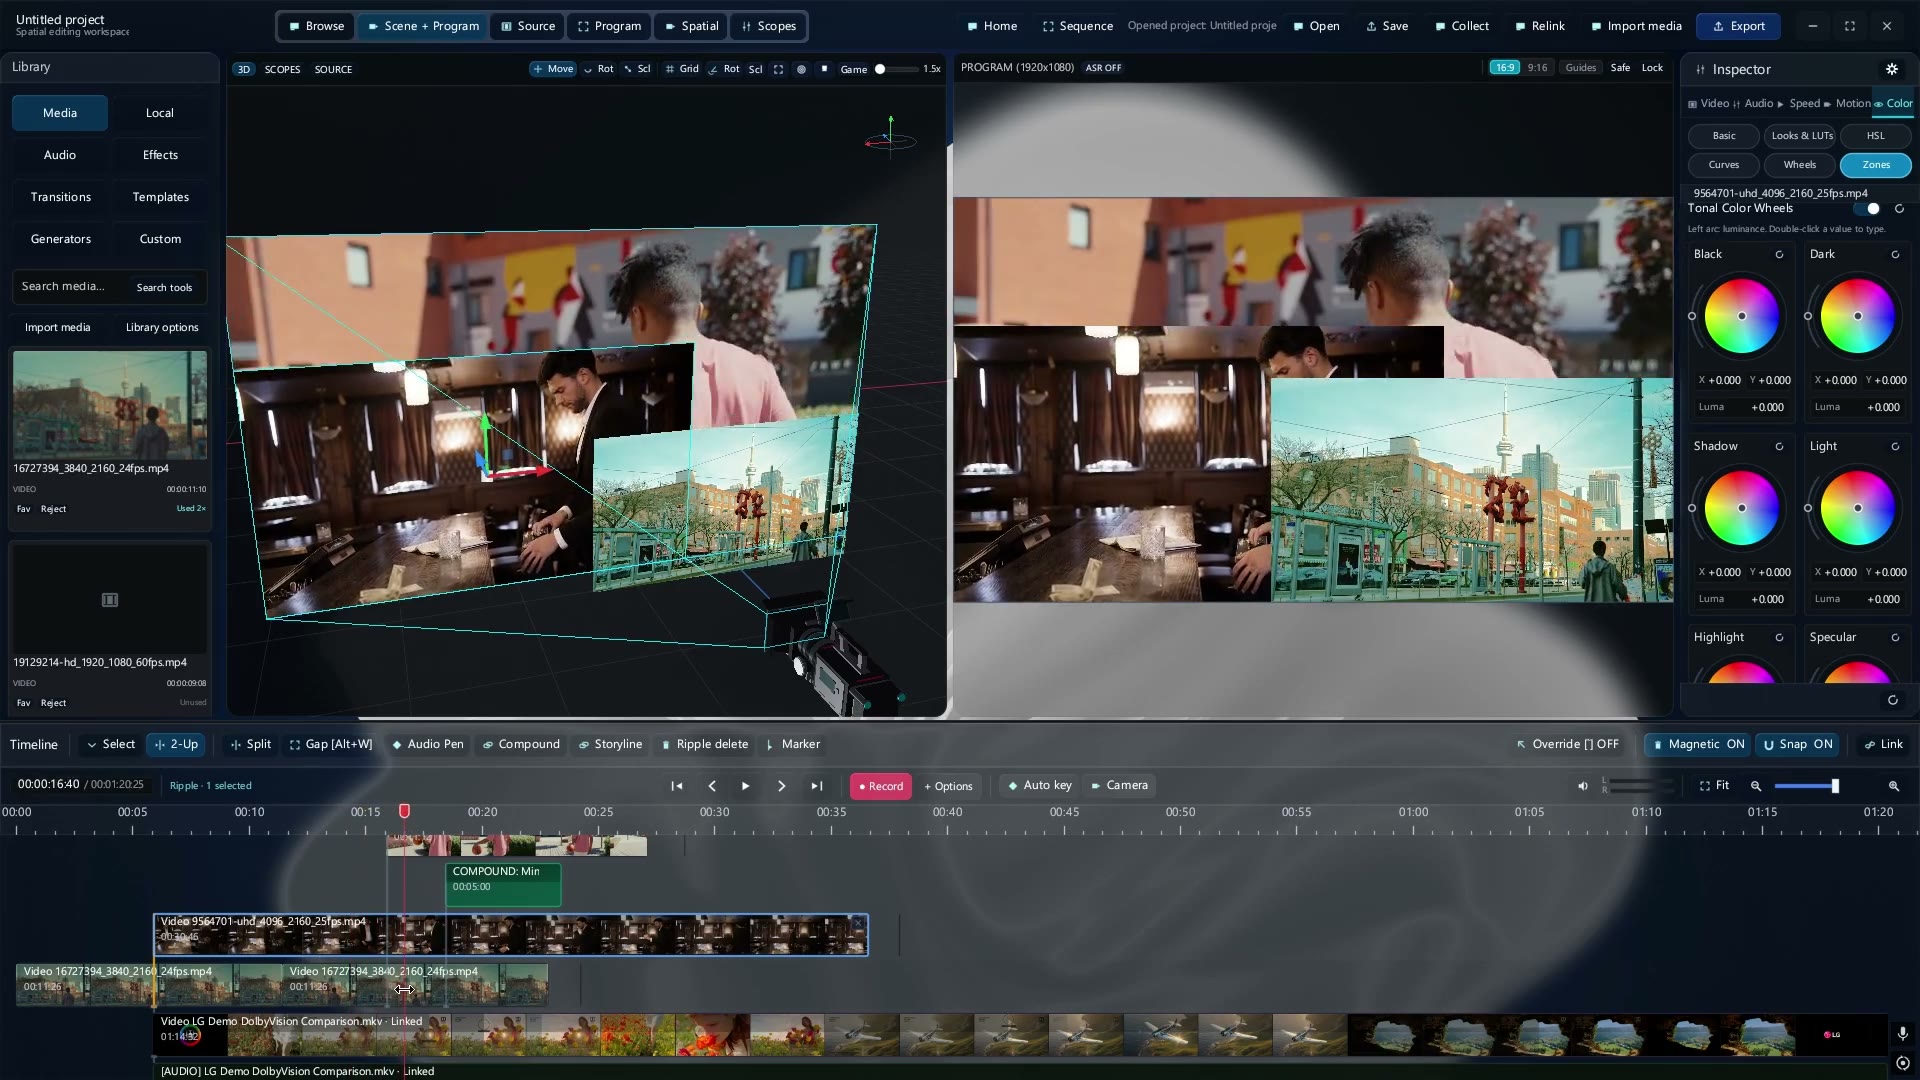
- Put footage on the timeline and add a title or another video layer. Open Scene + Program.
- Use Spatial to place layers at different depths. Keep the title readable in Program.
- Set the opening camera pose and add a key in the Camera lane. Move forward, set the next pose, and add the second key.
- Play the move in Program. Adjust the framing and timing before you export.
06 / Objects, lights and motion
Build a mesh scene with AI.
With the KIRA scene tools connected through MCP, an assistant can create an editable scene. Start with one rounded object, a floor, a light, and a camera. The guide includes a scene prompt, a rotation track example, and the tool workflow.
- In your AI client, select your configured KIRA connection and confirm the scene tools are available. Open a sample project and ask the assistant to read
kira_scene_capabilities. - Specify your canvas, duration, materials, camera move, and animation keys. Have the assistant place the scene and capture frames from the actual project.
- Review the result in Program, then save the editable project and export your shot.
In a text-only chat, ask for a shot plan and reviewable scene data. Attaching the guide supplies the instructions. Live project editing uses a separate connection.
07 / Finish and share
Check the exported result.
Scrub the opening, middle, and last visible frames. Edit a title or swap a logo to confirm the template stays editable. Save and reopen a sample project, then export a short segment at the intended aspect ratio.
When asking AI for a fix, send the complete source, the first compiler message or a screenshot, and the exact frame or time where the result differs from your brief.